Curved Molding Installation Services for Property Owners
Visitors can learn about curved molding installation services and compare local contractors who handle the work.
- - Curved molding installation services for residential and commercial properties seeking decorative architectural details.
- - Local contractors specializing in custom molding, trim work, and interior design enhancements.
- - Connect with experienced service providers to compare options and find the right professional for your project.

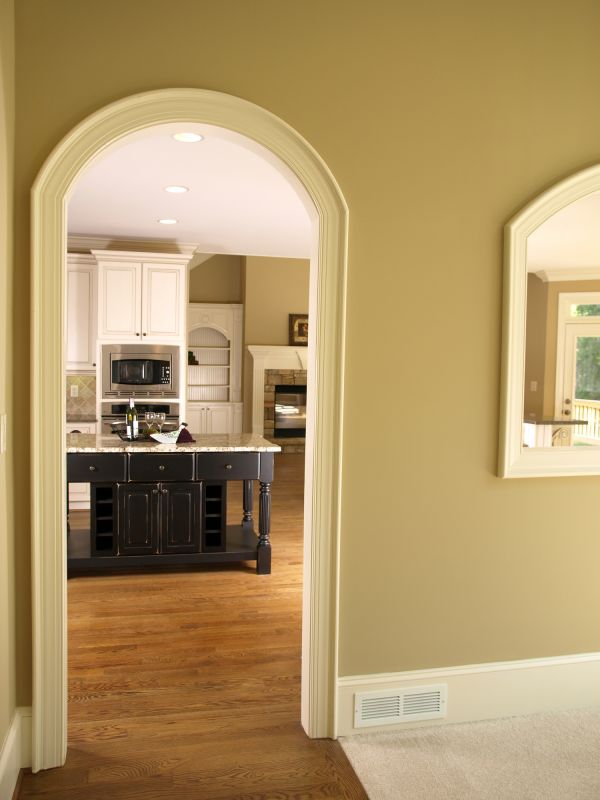
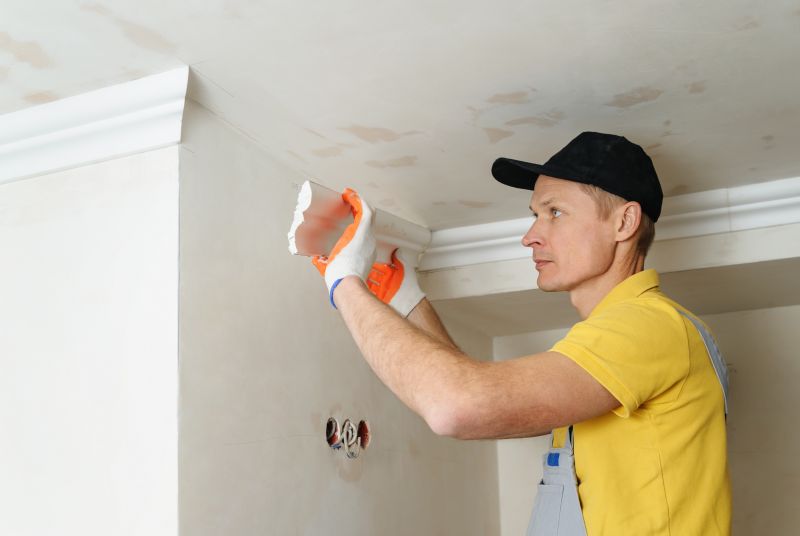
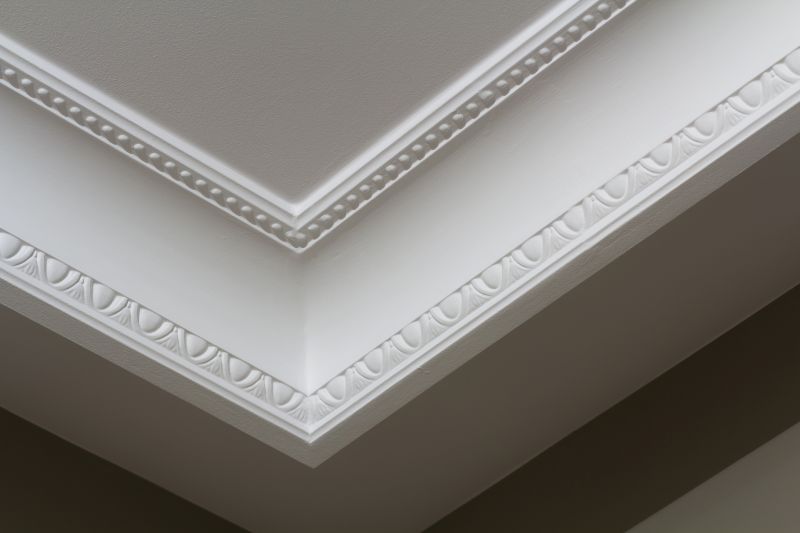
Curved molding installation services involve the careful shaping and fitting of decorative trim to create smooth, rounded transitions along walls, ceilings, or architectural features. Property owners often seek out local contractors who specialize in this craft to enhance the aesthetic appeal of interior spaces, especially when designing custom curves or intricate designs. These professionals typically work with a variety of materials, such as plaster, wood, or polyurethane, and are experienced in handling both new construction projects and renovations that require precise, seamless curved detailing.
Local service providers in this field can assist with a range of projects, from subtle archways to elaborate decorative borders. They understand the nuances of measuring, cutting, and installing curved moldings to ensure a clean and professional finish. When seeking help, property owners can expect to find experienced contractors who can evaluate the space, recommend suitable molding options, and execute the installation with attention to detail. Connecting with these local pros can help ensure the work aligns with the desired aesthetic and architectural style of the property.
This guide provides helpful information to assist homeowners in understanding curved molding installation projects. It explains how to compare local contractors and what to consider when planning a job. The goal is to help visitors gather the basics needed to connect with qualified service providers in their area.